A step-numbered guide to subcutaneous peptide injection technique for research context: reconstitution math, syringe units, rotation. Not medical advice.
Key points
- 01Confirm the dose math first. The peptide calculator and the how to reconstitute peptides guide show how vial strength and the volume of bacteriostatic water added set the concentration, and how a microgram dose converts to units on a U-100 syringe. Verifying the number before drawing is the safety-critical step described throughout this site.
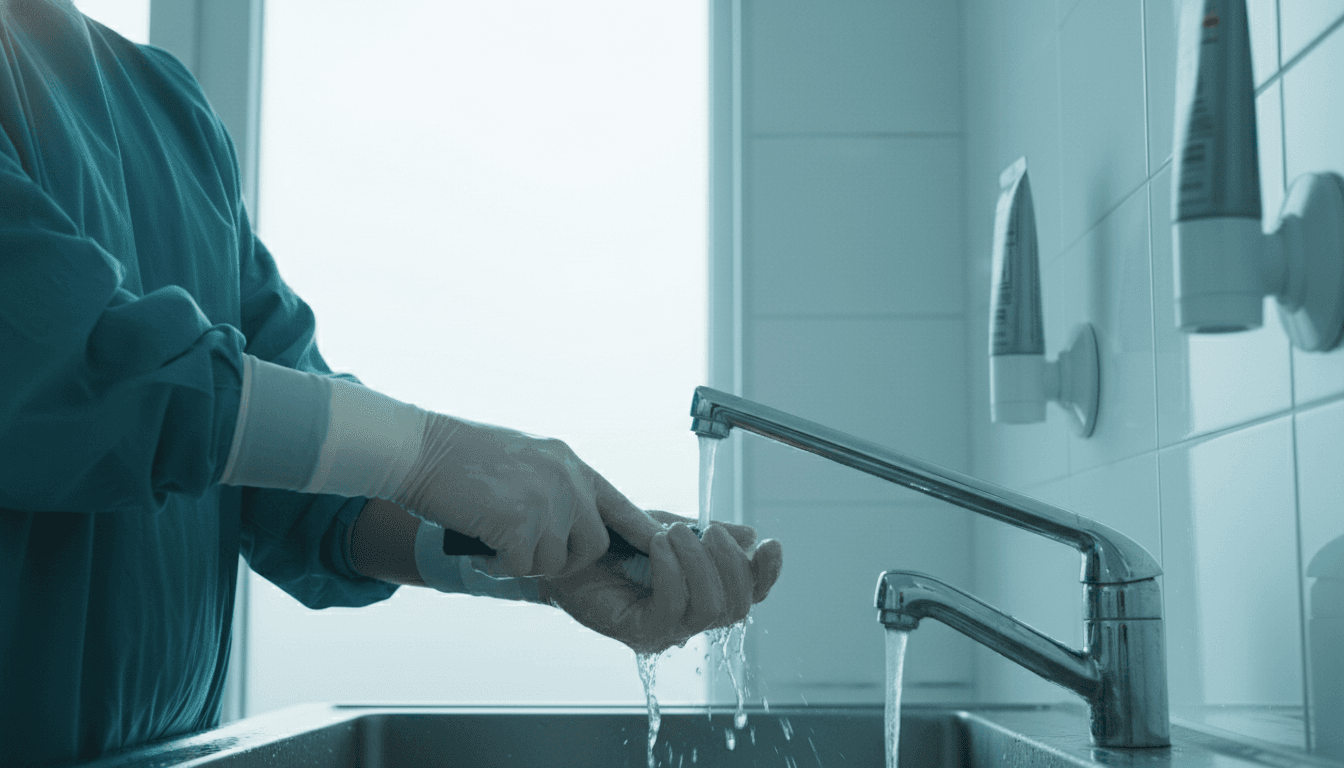
- 02Hand hygiene and supply preparation. CDC hand-hygiene guidance is applied before any parenteral procedure. The U-100 insulin syringe, alcohol prep pad, sharps container, and the reconstituted solution are laid out before the syringe is opened.
- 03Draw the dose and clear air bubbles. The plunger is drawn to the calculated unit mark. Nursing-education references such as Perry & Potter describe flicking the barrel to move air bubbles to the top and expelling them before injection, so the drawn volume matches the intended dose.
- 04Injection-site selection within the three documented zones. The abdomen (outside a two-inch radius around the umbilicus), the anterolateral thigh, and the posterior upper arm are the three subcutaneous sites described in nursing-education literature (Perry & Potter; Frid et al. 2016). The rotating injection sites guide covers the protocol.
- 05Skin antisepsis and the pinch. A 70% isopropyl alcohol prep pad is applied in a single outward spiral and allowed to air-dry (CDC). The skin-pinch technique raises the subcutaneous layer away from muscle for short needles in lean individuals, per Frid et al. 2016. The how to pinch skin guide covers the detail.
- 06Insert at the documented angle and inject steadily. A 90-degree angle is described for short (4 to 6 mm) needles in most adults; 45 degrees for longer needles in lean individuals (subcutaneous injection angle guide). The plunger is depressed at a steady, even rate, not pushed quickly.
- 07Withdraw, apply pressure, and dispose. The needle is withdrawn straight out at the insertion angle and placed directly into an FDA-cleared sharps container without recapping (OSHA). Gentle pressure with clean gauze handles a bead of blood or fluid. Recapping is the most-cited cause of needlestick injury.
Pre-injection checklist
- ✓Research-context note: this is patient-education material describing technique. Many research peptides are not FDA-approved for human use. Nothing here recommends use of any compound. Consult your prescriber.
- ✓Wash hands with soap and water for at least 20 seconds (CDC injection-safety guidance).
- ✓Confirm the solution is clear and free of particles. A cloudy or discoloured solution is not used; see the cloudy-solution context in the reconstitution guide.
- ✓Confirm your dose math before drawing. The peptide calculator and the reconstitution guide show how concentration converts to syringe units on a U-100 barrel.
- ✓Lay supplies on a clean flat surface within reach. Do not open the syringe until immediately before use.
- ✓Position the sharps container within reach of the dominant hand.
Step-by-step guide
- 1
Verify your dose math
Before drawing, confirm the concentration of your reconstituted solution and the number of units that equal your intended dose on a U-100 syringe. Use the peptide calculator and the reconstitution guide. This step is research-context patient education, not a recommendation to use any compound.
Pro tipAlways check the fluid is clear and colourless before injection. - 2
Wash hands and prepare supplies
Wash hands with soap and water for at least 20 seconds. Lay out the U-100 insulin syringe in its packaging, the alcohol prep pad, the sharps container within reach, and the reconstituted vial. Do not open the syringe until you are ready to draw.
Pro tipAlways check the fluid is clear and colourless before injection. - 3
Inspect the solution
Confirm the solution is clear and free of particles. A cloudy, discoloured, or particulate-containing solution is not used. Wipe the vial stopper with an alcohol pad and let it dry.
Pro tipAlways check the fluid is clear and colourless before injection. - 4
Draw the dose and clear air
Draw the plunger to the calculated unit mark. Flick the barrel so air bubbles rise to the top, then expel the air so the drawn volume matches your intended dose (Perry & Potter).
Pro tipAlways check the fluid is clear and colourless before injection. - 5
Select and clean a site
Choose one of the three documented subcutaneous zones: the abdomen (outside a 2-inch radius around the umbilicus), the anterolateral thigh, or the posterior upper arm. Rotate from the previous site. Clean with the alcohol pad in a single outward spiral and let it air-dry.
Pro tipAlways check the fluid is clear and colourless before injection. - 6
Pinch and insert
Pinch a fold of skin and subcutaneous tissue away from underlying muscle. Insert the needle at 90 degrees for short (4 to 6 mm) needles in most adults, or 45 degrees for longer needles in lean individuals. The needle is fully seated.
Pro tipAlways check the fluid is clear and colourless before injection. - 7
Inject and pause
Depress the plunger at a steady, even rate until it bottoms out. The injection should feel like firm pressure, not sharp pain. If sharp pain is felt, stop and withdraw without injecting. Keep the needle in place for a few seconds to reduce leakage at the surface.
Pro tipAlways check the fluid is clear and colourless before injection. - 8
Withdraw and dispose
Withdraw the needle straight out at the insertion angle. Release the skin pinch. Place the used syringe directly into the sharps container without recapping (OSHA 29 CFR 1910.1030). Apply gentle pressure with clean gauze if a bead of blood or fluid appears; do not rub.
Pro tipAlways check the fluid is clear and colourless before injection.
After the injection
- Do not rub the injection site. Gentle pressure with clean gauze for ten to twenty seconds is acceptable if a small bead of fluid or blood appears (Frid et al. 2016).
- Dispose of the needle directly into the sharps container without recapping (OSHA bloodborne-pathogen guidance).
- Record the injection: date, time, dose, and site. A site log is the primary tool for systematic rotation in the Forum for Injection Technique recommendations.
- Return the reconstituted vial to the storage condition described in the reconstitution guide (typically refrigerated, protected from light).
- A small bruise, a single drop of blood, or a 1 cm patch of pinkness that resolves within 24 hours is consistent with normal injection response. See the GLP-1 injection problems guide for troubleshooting.
- Bleeding that does not stop after five minutes of gentle pressure, contact prescriber (see the bleeding after injection guide).
- Expanding redness, warmth, or hardness beyond a 2 cm radius after 24 hours, same-day prescriber contact; possible soft-tissue infection per IDSA guidance.
- Fever above 38 degrees C or 100.4 degrees F within 48 hours of injection, contact prescriber.
- Purulent (yellow or green) discharge or a fluctuant lump at the site, same-day prescriber contact.
- Unexpected deep, sharp pain that radiates beyond the site, discontinue and contact prescriber; possible inadvertent intramuscular deposition.
- Hives, swelling of the lips, tongue, or throat, difficulty breathing, or fainting within minutes of injection, call emergency services.
Frequently asked questions
How do you inject peptides subcutaneously?+
The technique is the same subcutaneous procedure described for any self-administered medication: verify the dose math, wash hands, draw the dose into a U-100 insulin syringe and clear air bubbles, clean a rotated site and let it dry, pinch the skin, insert at the documented angle, inject steadily, then withdraw and dispose in a sharps container. This guide is research-context patient education and does not recommend use of any compound.
What needle and syringe are described for peptide injection?+
Reconstituted peptides are commonly drawn with a U-100 insulin syringe, frequently 31G x 5/16 inch (8 mm), because the unit markings let a small microgram dose be measured precisely. Frid et al. 2016 describes short, fine needles as appropriate for subcutaneous delivery in most adults. See the needle sizes guide for the gauge and length conventions.
How do I convert my dose to units on the syringe?+
Concentration is set during reconstitution: vial strength divided by the volume of bacteriostatic water added. The dose in micrograms divided by that concentration gives the volume, which reads directly as units on a U-100 barrel. The peptide calculator and the how to reconstitute peptides guide show the worked math and the visual syringe.
Where should peptides be injected?+
The same three subcutaneous zones described in nursing-education literature: the abdomen (outside a two-inch radius around the umbilicus), the anterolateral thigh, and the posterior upper arm. The rotating injection sites guide covers systematic rotation, which Frid et al. 2016 and the Forum for Injection Technique describe as preventing lipohypertrophy.
Are research peptides approved for human use?+
Many peptides discussed in research literature are not FDA-approved for human use. This guide is research-context patient education that describes injection technique only; it does not recommend use of any compound, and it does not link to vendors. Decisions about use belong with a prescriber.
What if I see bruising, bleeding, or a lump?+
A small bruise, a single drop of blood, or a 1 cm patch of pinkness that resolves within 24 hours is consistent with a normal injection response. The GLP-1 injection problems guide, the bleeding after injection guide, and the lipohypertrophy guide cover each in detail, including the red flags that warrant prescriber contact.
Sources
- Frid AH et al., 2016. New Insulin Delivery Recommendations, Mayo Clinic Proceedings
- CDC. Safe Injection Practices
- OSHA Bloodborne Pathogens Standard, 29 CFR 1910.1030
- Perry AG, Potter PA. Clinical Nursing Skills & Techniques (Elsevier). Subcutaneous injection chapter.
- Forum for Injection Technique (FIT). Injection Recommendations